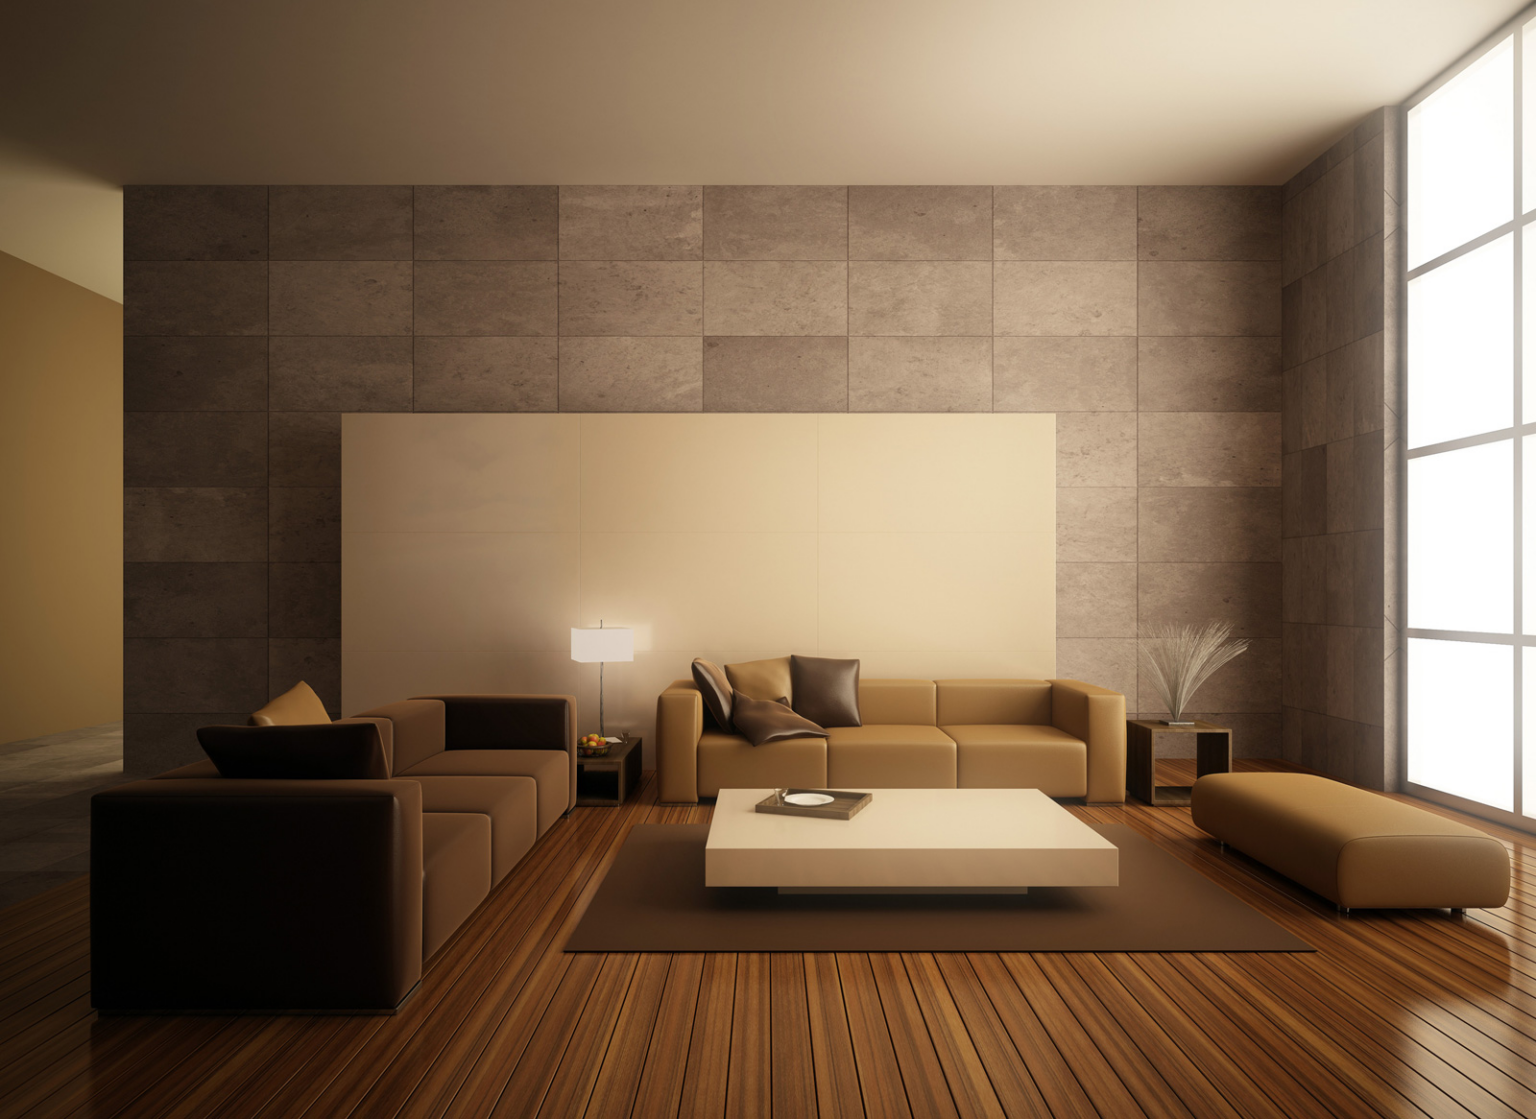
A 3D walkthrough is a powerful visual tool that allows viewers to explore a space virtually—before it’s physically built. Whether you’re an architect, interior designer, or real estate developer, 3D walkthroughs help convey your vision with clarity and emotion. Creating one may sound technical, but with the right software and steps, it’s easier than ever. Let’s walk through the five essential steps to creating a high-quality 3D walkthrough.
Step 1: Model Your Space in 3D
The first step is building a 3D model of your project. You can use software like SketchUp for quick and intuitive modeling, especially for interior design and architecture. Ensure that all dimensions, furniture, walls, and structural elements are accurate to reflect real-world scale.
Step 2: Add Textures, Lighting & Details
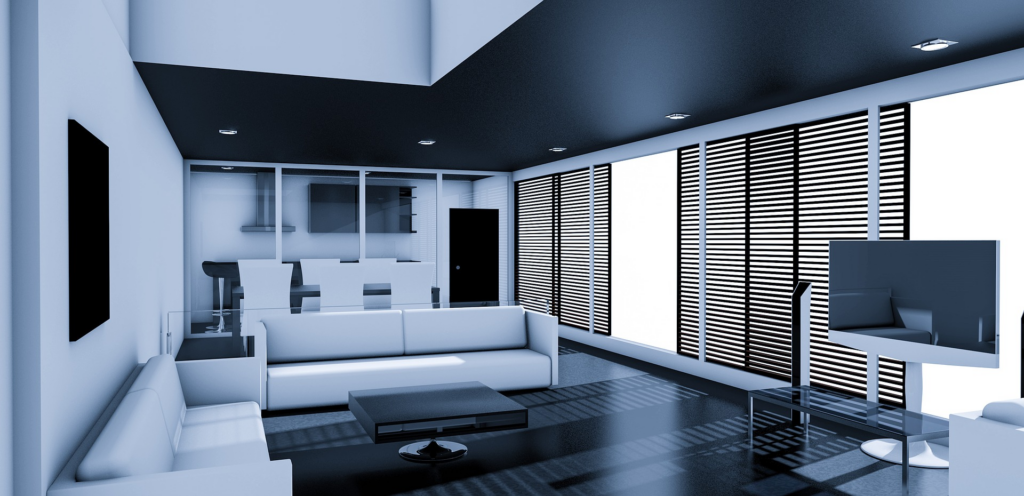
To bring your model to life, apply materials, textures, and realistic lighting. Natural light, artificial lighting, and shadows play a huge role in realism. Tools like Revit provide advanced options for material mapping and lighting simulation, especially for building professionals. Don’t forget to add decor elements—artwork, flooring textures, and finishes—to make the space feel complete.
Step 3: Define Your Camera Path
Now, set up the camera path—the virtual route the viewer will “walk” through. Most 3D software, such as Lumion, allows you to create smooth, cinematic camera movements with ease. This step helps guide your audience through the space logically—showcasing rooms, transitions, and focal points. Keep the motion steady and the pace comfortable for an immersive experience.
Step 4: Render Your Walkthrough
Rendering transforms your scene into a polished video or interactive file. Depending on your software, rendering can be real-time or pre-rendered. Use engines like V-Ray or Lumion to create realistic visuals with proper lighting, reflections, and resolution. Make sure to preview and tweak your walkthrough before finalizing.
Step 5: Export and Share
Once you’re satisfied with the walkthrough, export it in a video format (MP4 or AVI) or publish it as an interactive experience. You can upload your walkthrough on platforms like YouTube, Vimeo, or embed it in your portfolio or website. For real estate, tools like Matterport are perfect for virtual tour hosting.
Conclusion
Creating a 3D walkthrough doesn’t require a full production studio—just the right tools and a creative workflow. With proper modeling, lighting, animation, and rendering, your space can be experienced virtually by clients, stakeholders, or buyers from anywhere in the world. Want help picking the best software or setting up your first walkthrough? I’m here to guide you through it step by step!
Also Read : 10 Elegant Living Room Almirah Designs for a Stylish and Organized Space

