Cove lighting is an elegant and modern way to enhance a room’s ambiance by providing soft, indirect illumination. Whether used for accentuating architectural details, creating a cozy atmosphere, or improving overall lighting design, cove lighting is a versatile and stylish choice. This guide will walk you through everything you need to know about cove lighting installation, from planning to execution.
Understanding Cove Lighting
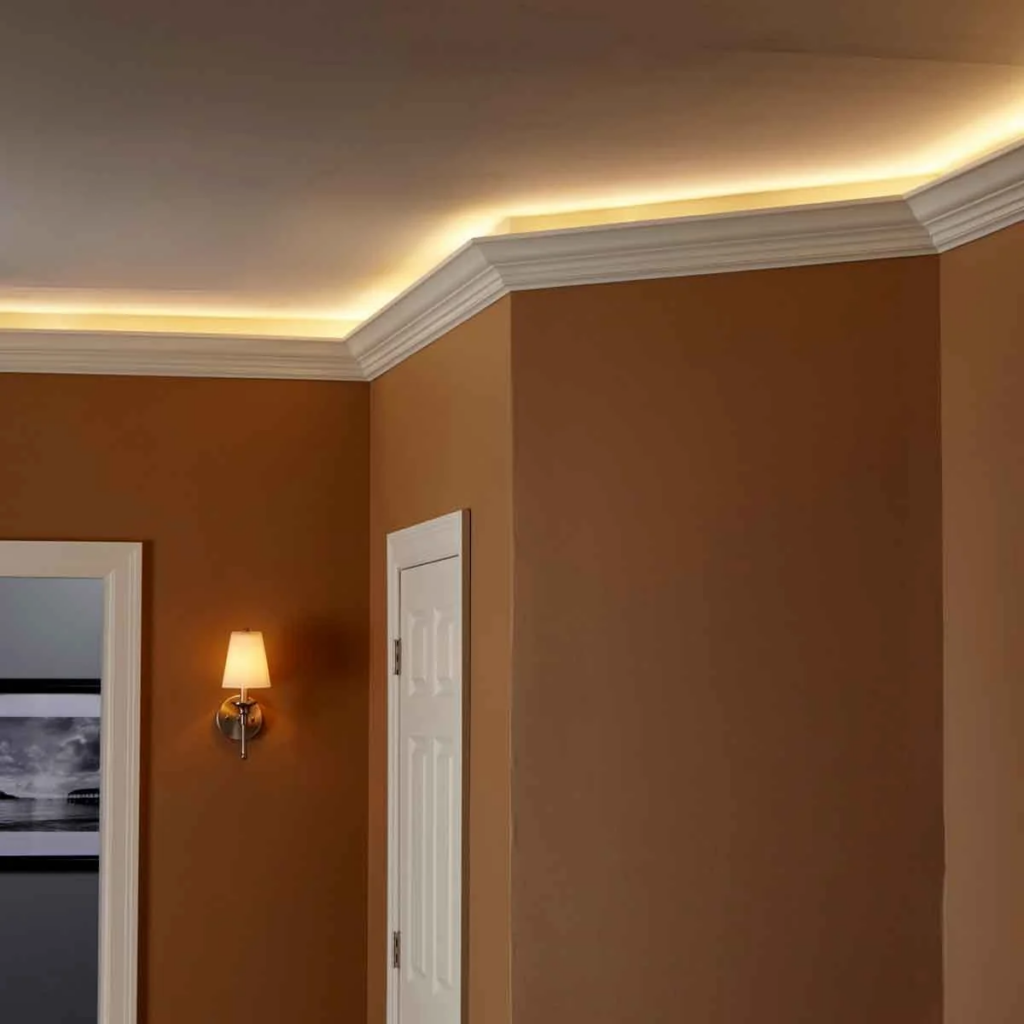
Cove lighting involves installing LED strips or linear lighting within recessed or perimeter spaces, such as ceilings, walls, or under cabinets. This indirect lighting technique reduces glare and provides a seamless glow, perfect for residential and commercial interiors.
Types of Cove Lighting
- Ceiling Cove Lighting – Installed along the edges of ceilings, this type enhances architectural depth and creates a floating ceiling effect.
- Wall Cove Lighting – Used to highlight textures, artwork, or structural features, adding depth and sophistication to walls.
- Under Cabinet Cove Lighting – Common in kitchens, providing functional and aesthetic illumination for countertops.
- Floor Cove Lighting – Embedded along floors to add a futuristic and luxurious touch to modern spaces.
Planning Your Cove Lighting Installation
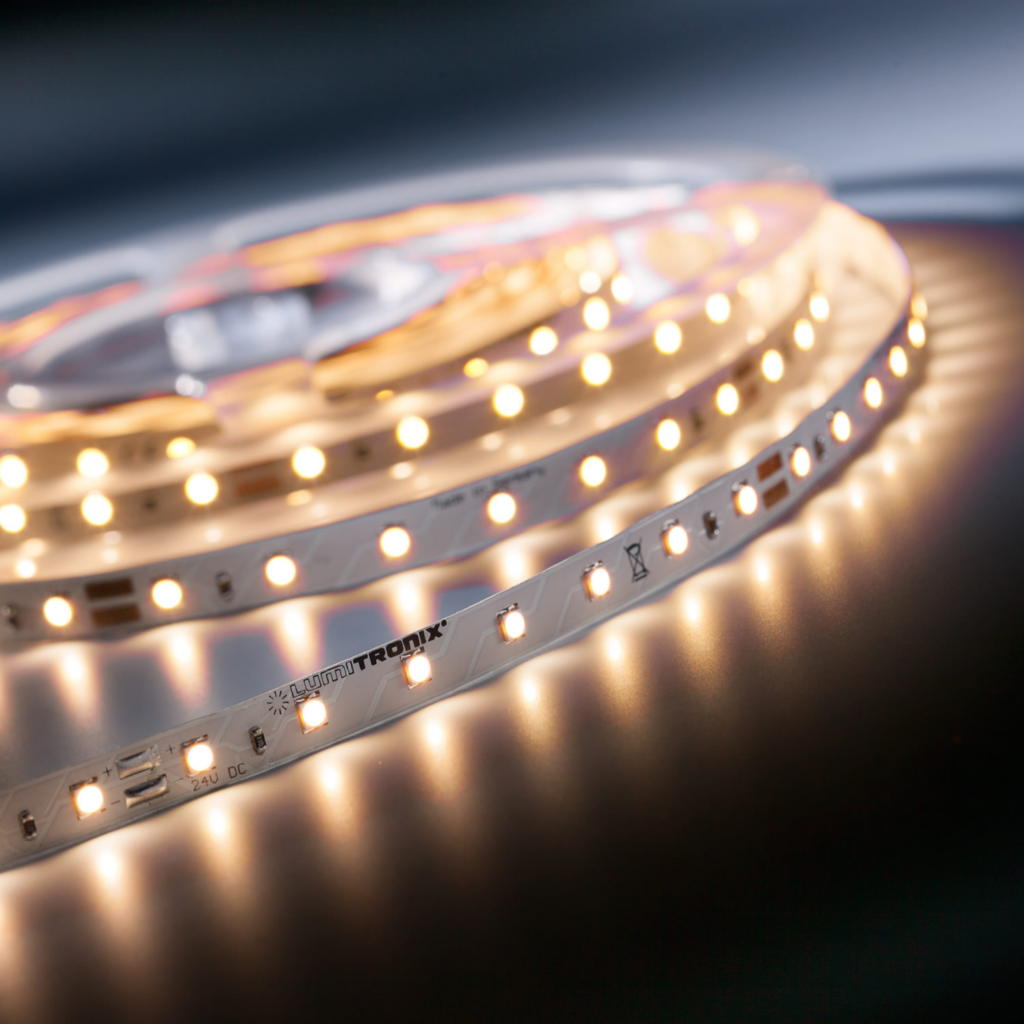
1. Choosing the Right LED Strips
- Opt for dimmable LEDs to adjust brightness based on mood and functionality.
- Consider the color temperature (warm, neutral, or cool white) depending on your room’s aesthetic.
- Ensure high CRI (Color Rendering Index) for accurate color representation of interiors.
2. Selecting the Ideal Placement
- Identify architectural details to highlight.
- Decide on the height and depth for uniform light distribution.
- Use mock-up installations to visualize effects before finalizing placement.
3. Gathering Essential Materials
- LED strips or linear fixtures
- Aluminum profiles for heat dissipation
- Power supply and dimmer switches
- Mounting clips or channels
- Electrical wiring and connectors
Step-by-Step Installation Process
Step 1: Measure and Mark the Installation Area
Use a measuring tape to determine the exact length and placement of the cove lighting. Mark areas for mounting to ensure alignment and symmetry.
Step 2: Install Mounting Channels
Secure aluminum profiles or mounting channels using screws or adhesive tape. These channels help diffuse light evenly and extend the life of LED strips by preventing overheating.
Step 3: Attach LED Strips
Carefully place LED strips inside the channels. Peel off the adhesive backing and press them firmly onto the surface. Ensure strips are straight and evenly spaced for a seamless lighting effect.
Step 4: Connect to Power Supply
Wire the LED strips to a compatible power source. If using a dimmable setup, connect to a dimmer switch for adjustable brightness control. Ensure all electrical connections are secure and insulated.
Step 5: Test and Adjust
Before finalizing the installation, turn on the lights to check for any inconsistencies in brightness or placement. Make necessary adjustments to achieve the desired lighting effect.
Maintenance and Troubleshooting
- Regular Cleaning: Dust and dirt can accumulate over time, dimming the light output. Wipe down fixtures occasionally.
- Check Connections: Loose wiring or faulty connections may cause flickering. Inspect and secure connections as needed.
- Replace Damaged LEDs: If a section of the LED strip stops working, replace it promptly to maintain uniform lighting.
Conclusion
Cove lighting is a stylish and functional way to elevate any space, whether in residential or commercial settings. With careful planning, quality materials, and precise installation, you can achieve a sophisticated and well-lit environment. Whether you’re a DIY enthusiast or hiring a professional, this guide provides all the essential steps for a flawless cove lighting setup.
Also Read : Budget-Friendly Home Design Ideas to Upgrade Your Interiors