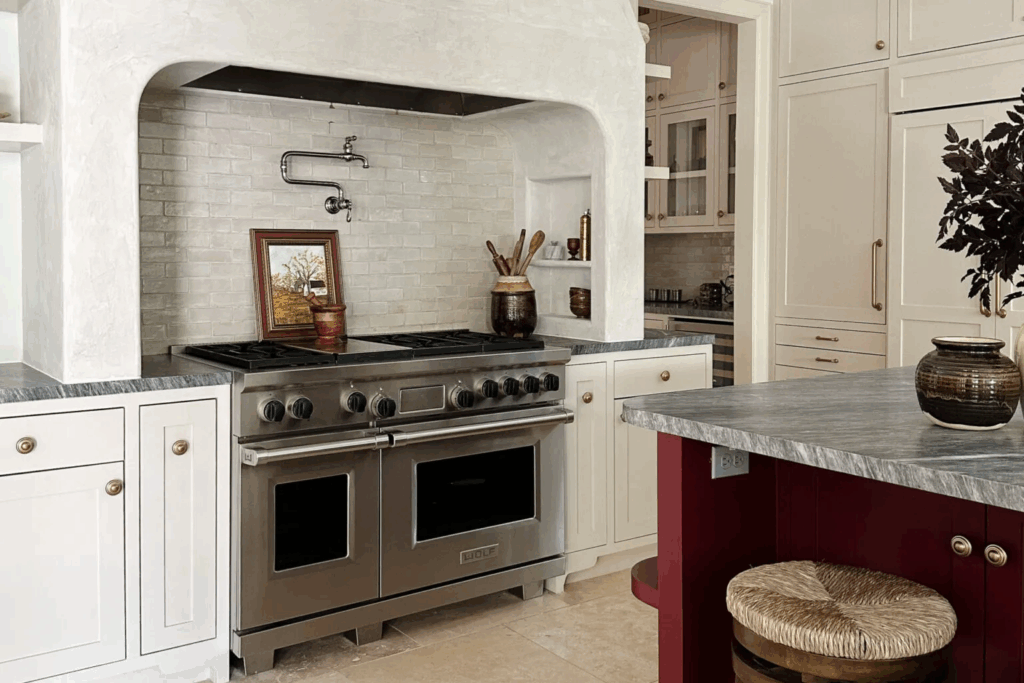
If you adore the appearance of a bespoke kitchen, a DIY range hood cover is one of the ideal projects to undertake. It entirely changes the area, injects personality, and creates your kitchen look and feel like an upscale renovation without the substantial budget.
I’ve made a range hood cover once before in our old house, and I knew I wanted something along those lines in this kitchen—but with some upgrades. This time, I included pretty molding down the bottom and painted the whole cover rather than combining paint and stained trim. I couldn’t be happier with how it looks.
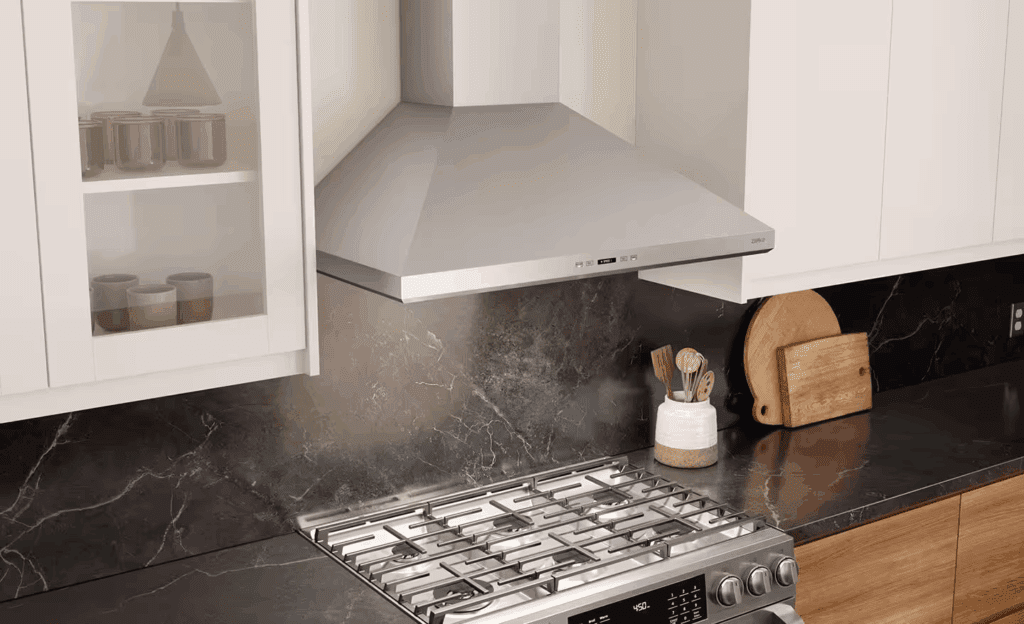
Range Hood Used
A brief aside on the actual insert for the hood: you’ll want to have a range hood that has buttons on the bottom. I’m using this white one, the same model we installed in our previous home. It’s available in multiple sizes and colors, including stainless steel, and it’s a very good quality item.
Materials
Here’s what you’ll need:
- Base Cap Molding
- 1×6 @ 8 ft
- 8 ft x 4 ft piece of ¼” plywood
- 1×2 @ 8 ft
- 2×2 @ 8 ft
- 2¼” lattice board, ¼” thick x 8 ft
- Optional: 1×4 boards, ⅜” thick
- 1” and 1¼” brad nails
- 2½” wood screws
- 2½” Kreg screws
- Paintable caulk
- Lightweight spackle or wood filler
- Paint (we used Edgecomb Gray by Benjamin Moore)
- Range hood insert
Tools:
- Brad nailer
- Miter saw
- Circular saw or table saw
- Kreg Jig
- Measuring tape
- Clamps
- Level
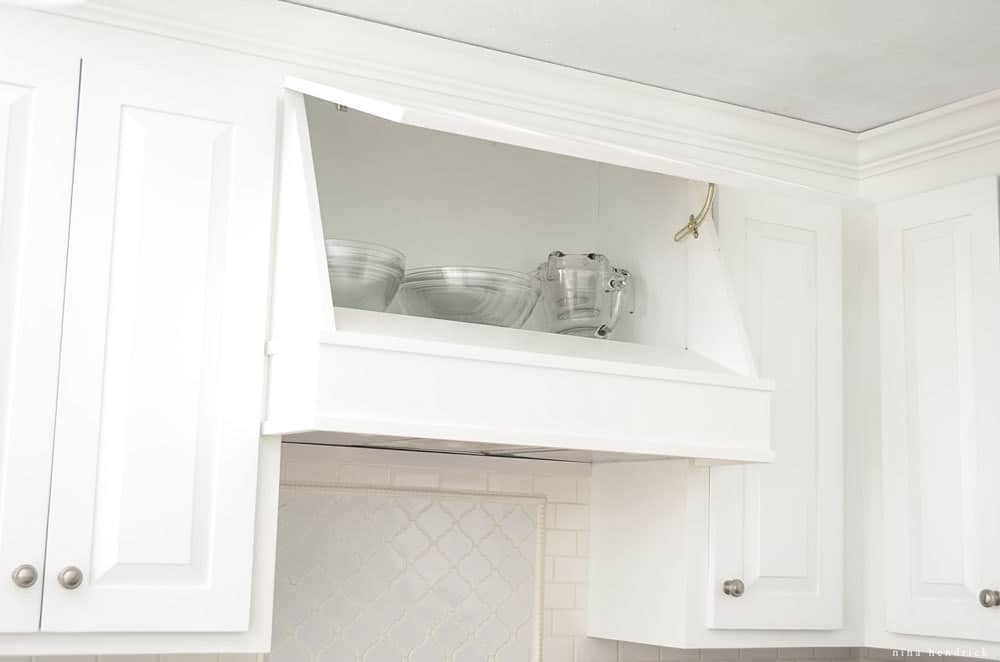
How to Construct the DIY Range Hood Cover with Molding
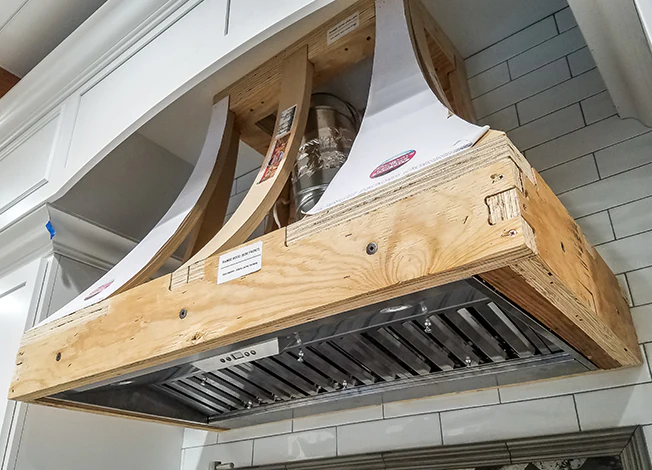
1. Install the New Range Hood
We began by installing the new hood in place of the old one, the new one having the buttons placed on the bottom. Our previous hood was 30″, but we chose a 24″ width here to provide space for the cover frame—same procedure as that of our last project.
Since we did not have upper cabinets to strap it to, we strapped a 2×4 to the wall studs first to support the hood. We also leveled the cabinets to make stacked uppers above.
2. Build the Frame
For the main frame, we proceeded the same as the other one. The only difference was that this kitchen has face frame cabinets rather than frameless, so we needed to ensure our cabinet doors wouldn’t bump into the molding when everything is set.
This time around, there also was not a cabinet above to hold down the top of the hood cover. We fixed that by providing additional support: 1x2s and 2×4 blocks bolted to the side cabinets, in addition to a 1×4 board clamped down across the top.
If I were to do it over, I’d modify the frame design slightly, but we sort of winged it as we went along.
3. Attach the Plywood and Trim
We trimmed ¼” plywood to size for the front and sides and attached it to the frame with 1″ brad nails.
Then, we placed the 1×6 board around the base and stacked the lattice trim on the front panel.
If you’d like more information on this step, you can see the actual cuts and steps in my previous tutorial.
4. Add the Molding
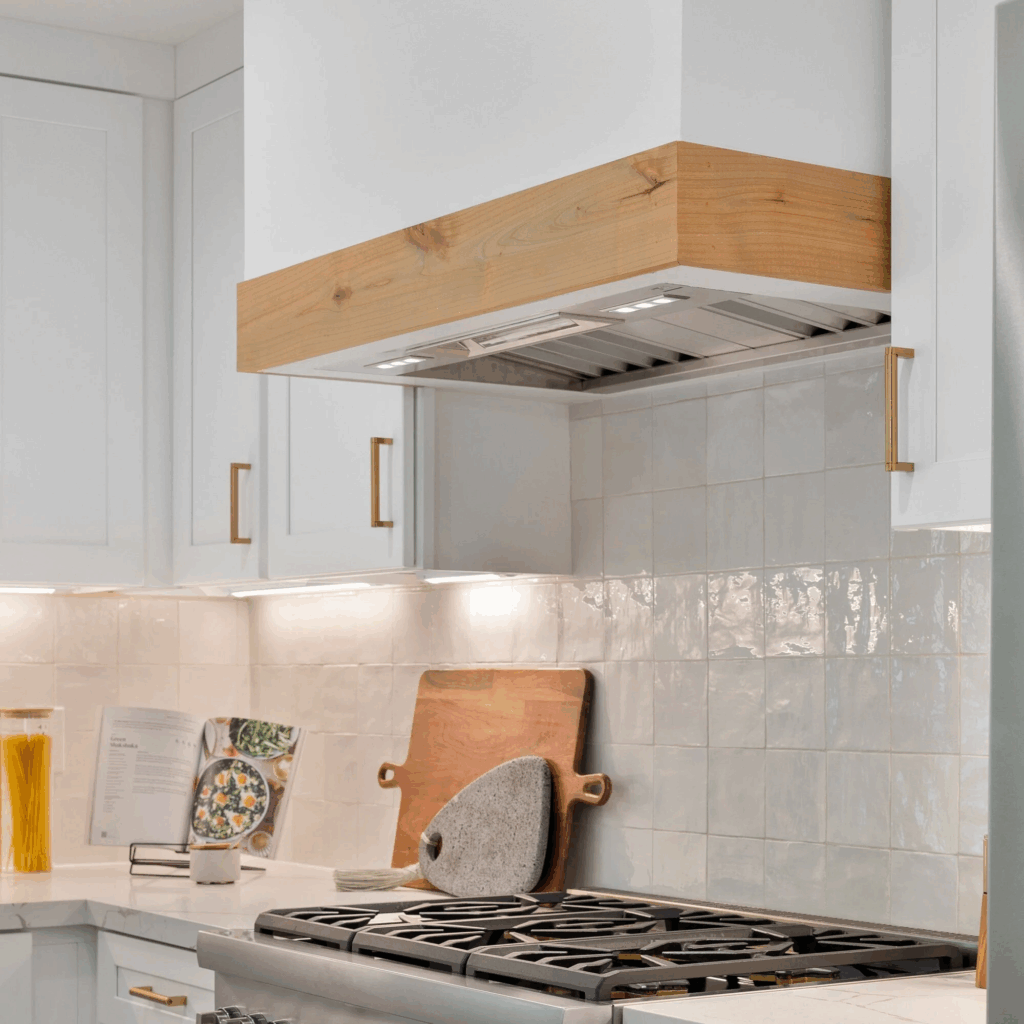
Time for the exciting part: the molding!
We cut the Base Cap Molding for front and side pieces on 45° mitered corners.
Next, we nailed the molding to the top and bottom edges of the 1×6 base board with a brad nailer and 1″ nails.
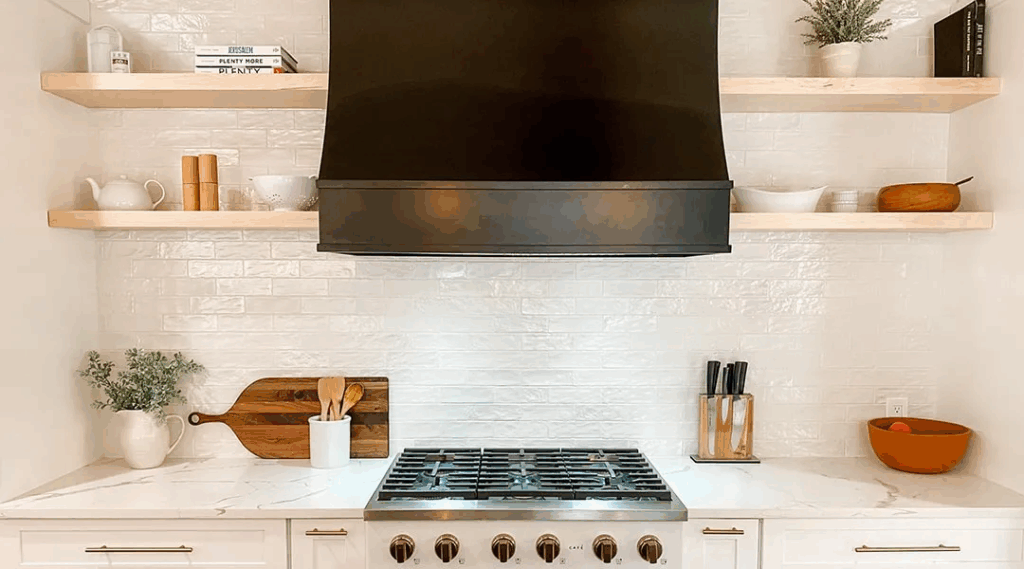
5. Finish and Paint
Finally, after all was installed, we filled the nail holes and seams with spackle and caulked up any gaps.
We painted the entire cover to coordinate with the kitchen cabinets (Edgecomb Gray). I adore the way the molding makes it look even more sleek, custom-like—it was just the finishing touch.
Also Read : 5 Marble Dining Table Set Designs That Bring Everyday Elegance to Your Home