Putting up an eye-catching wood slat accent wall is simpler than you imagine. Using the proper materials, some patience, and a little bit of trickery, you can add warmth and contemporary flair to any room—a snug bedroom to a high-tech living room.
Why Wood Slat Walls?
Wood paneling is back—this time with a new spin. Ditch the funky basement feeling of the ’70s. Modern wood accent walls evoke a clean, natural, midcentury look that’s both fresh and timeless. A slat wall can turn a bland room into a warm retreat instantly, and with some DIY courage, it’s completely within reach.
Tools and Materials
- Measuring tape
- 1-inch birch plywood
- Table saw
- Push block
- Electric sander
- Fine-grit sanding block
- Stain
- Clamps
- Level
- Mini foam paint roller
- Electric nail gun or brad nailer
Step 1: Cut the Plywood
Start by measuring your wall width in inches. Divide that number by 2.25 to calculate how many slats you’ll need. Each slat will be 1.5 inches wide, with a 0.75-inch gap in between.
Plywood sheets typically come in 8-foot lengths—perfect for standard ceiling heights. Mark and cut your plywood using a table saw. Be careful when handling large sheets; always use a push block and ask a friend to help for safety.
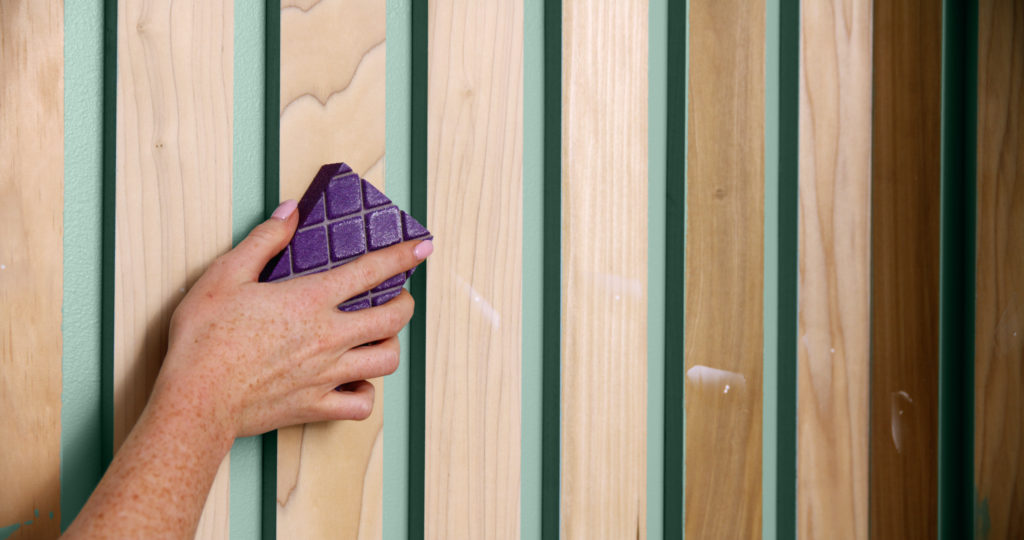
Step 2: Prep the Slats
While plywood surfaces are typically pre-sanded, the edges of the cut ones must be addressed. Rather than sanding each slat separately, clamp 15–20 slats together, exposing their edges. Smooth them all at once using an electric sander, which is quicker and more even.
Turn over and do again on the other edges, then do a light hand sanding with a fine-grit block on all four sides.
Step 3: Apply the Stain
Leave the slats held together by clamps and use a foam roller to stain the edges. Turn and stain the other edge, and then stand the slats on their sides with the front face up and stain that side as well. Ignore the back—it will never be seen once it is in place.
Wipe away any leftover with a clean cloth and allow them to dry overnight.
Step 4: Hang the Slats
Begin with a pre-painted wall (a dark color will help cover the gaps). Start in one corner—usually the right corner—and set your first slat vertically with a level. Secure it with a finish nailer.
Next, grab a spare slat and turn it on its side to act as a spacer. Put it to the side of the slat installed, then push the next slat against it. Now that they’re aligned and level, nail in that slat too.
Keep repeating this process along the wall, utilizing the same spacer for uniform gaps. Verify each slat with a level prior to fastening.
Step 5: Give Yourself a High Five
That’s it—you’ve transformed a blank wall into a sophisticated architectural feature. Using simple plywood, a clever spacing method, and basic tools, you’ve created a professional-looking slat wall that’s both trendy and timeless.
Also Read : Why Personalized Décor Makes Your Home More You